by Randy A. Bergum
In the world of organ repair it is sometimes necessary to build a tool or jig to complete a job. After having taken receipt of a rank of reed pipes with a few broken resonators, I contacted Steuart Goodwin to ask how the experts would repair them. Steuart described a turntable that held the reed block in place, and also located the matching resonator above it, permitting a quick and trouble free soldering job. It was decided (!) that I would prepare a reed block soldering turntable like one he had seen in a factory, so we distilled the essence of the tool into a list of simple requirements.
The turntable had to allow for:
After a few sessions of napkin sketching at the local coffee house, the design was born and construction began.
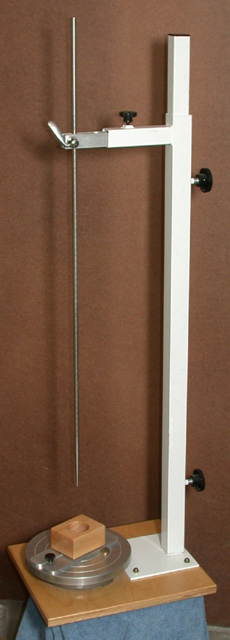
This tool consists of a base with a turntable, and a metal frame with an adjustable arm holding a guide rod to position the resonator over the block.
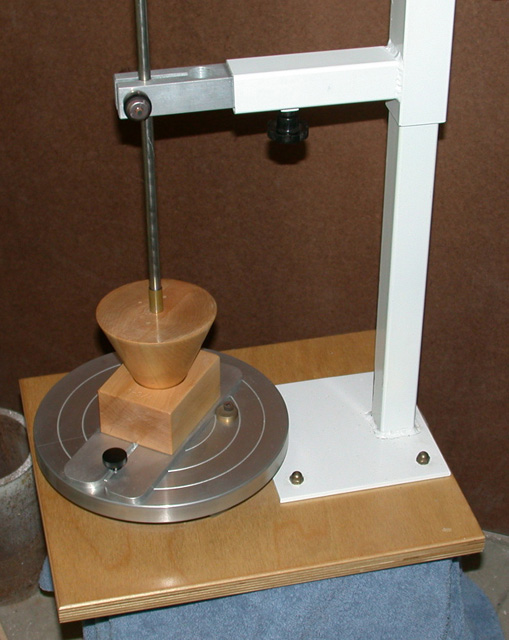
Mounted to the base is a turntable made from a potter's banding wheel, chosen because it has a low profile and quality bearings on its axle mount. The wheel has a block slide that allows horizontal alignment of the block shallot hole with the centerline of rotation - there are many different sizes of blocks, and the location of this hole varies. The slide has two tapered pins that receive a wood jig, used to hold the heated reed block during soldering. There is a set of 6 wood jigs, each with a different size hole to fit the most common diameters of reed blocks.
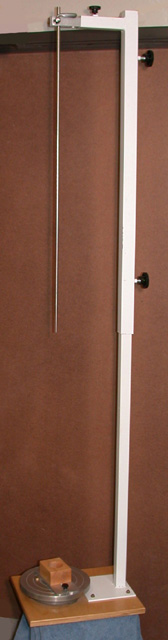
The metal frame consists of a fixed post with a traveling arm that holds the resonator guide rod. The travelling arm can extend up to 5-1/2 feet, or can be turned upside down to fit the smallest sized pipes.
Clamped into the travelling arm is a guide rod made of 3/8" stainless steel 36" long, with a tapered point that fits into the reed block, aligning the resonator and reducing solder leakage where the shallot must fit. The other end of the guide rod is drilled and tapped to accept another extension rod of 36" for those really big jobs. A quick release clamp is used to pinch the guide rod after adjustment, and a wooden cone slides onto the rod and into the top of the resonator being soldered. The cone has a brass bushing that allows easy rotation of the resonator as the block turns.
| |
|
|
| Fig. 1 - Pipe Soldering Turntable | Fig. 2 - Upper Mount Extended | Fig. 3 - Upper Mount Lowered |
 |
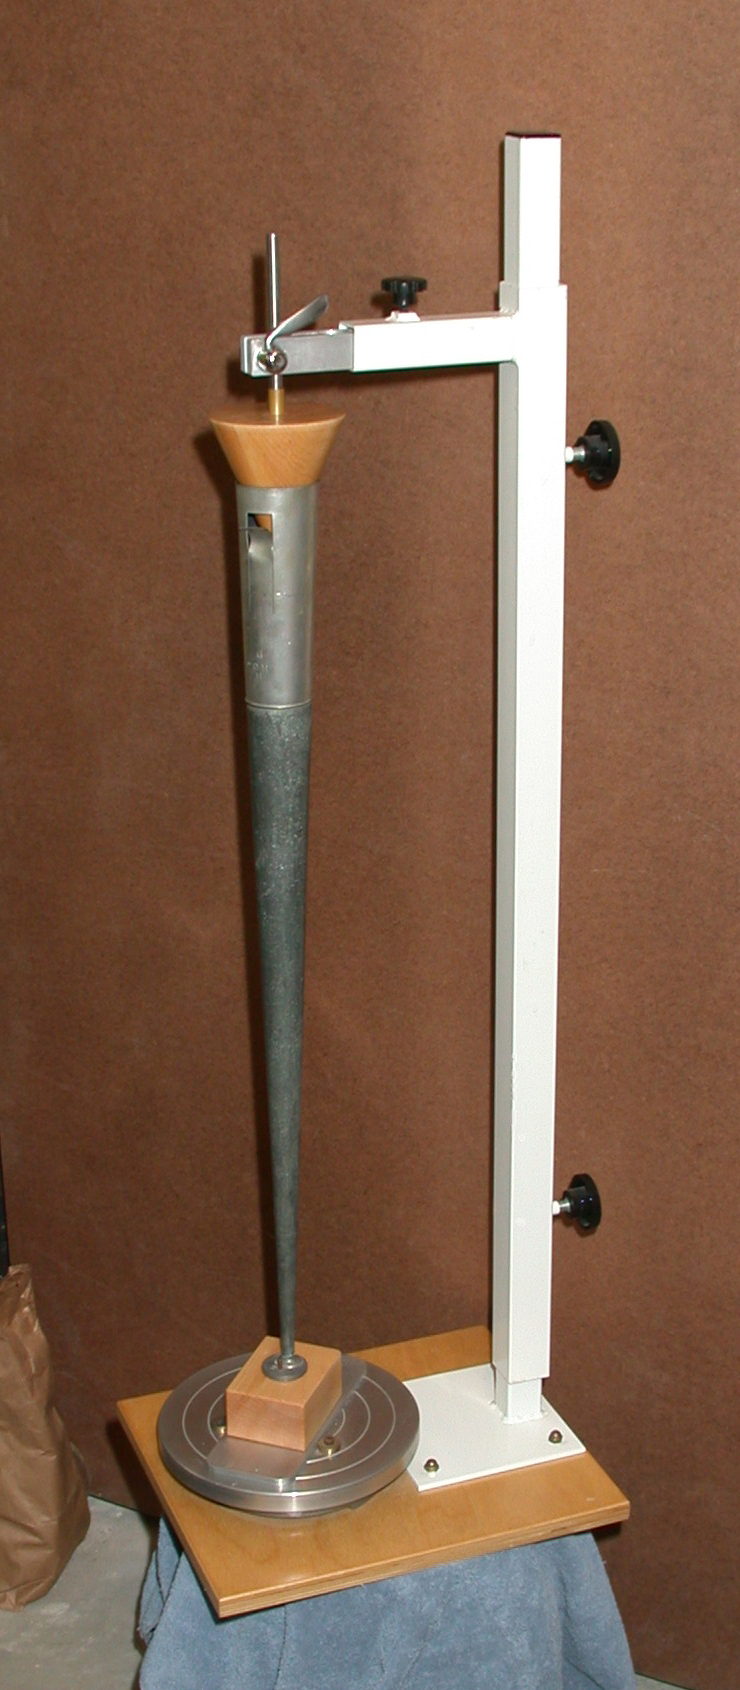 |
| Fig. 4 - The Reed Block Jigs and Cone | Fig. 5 - A Dry Run Assemply of Parts |
Allow for 1,000 solder jobs before you even get close to apprentice position in a real pipe making company (!)
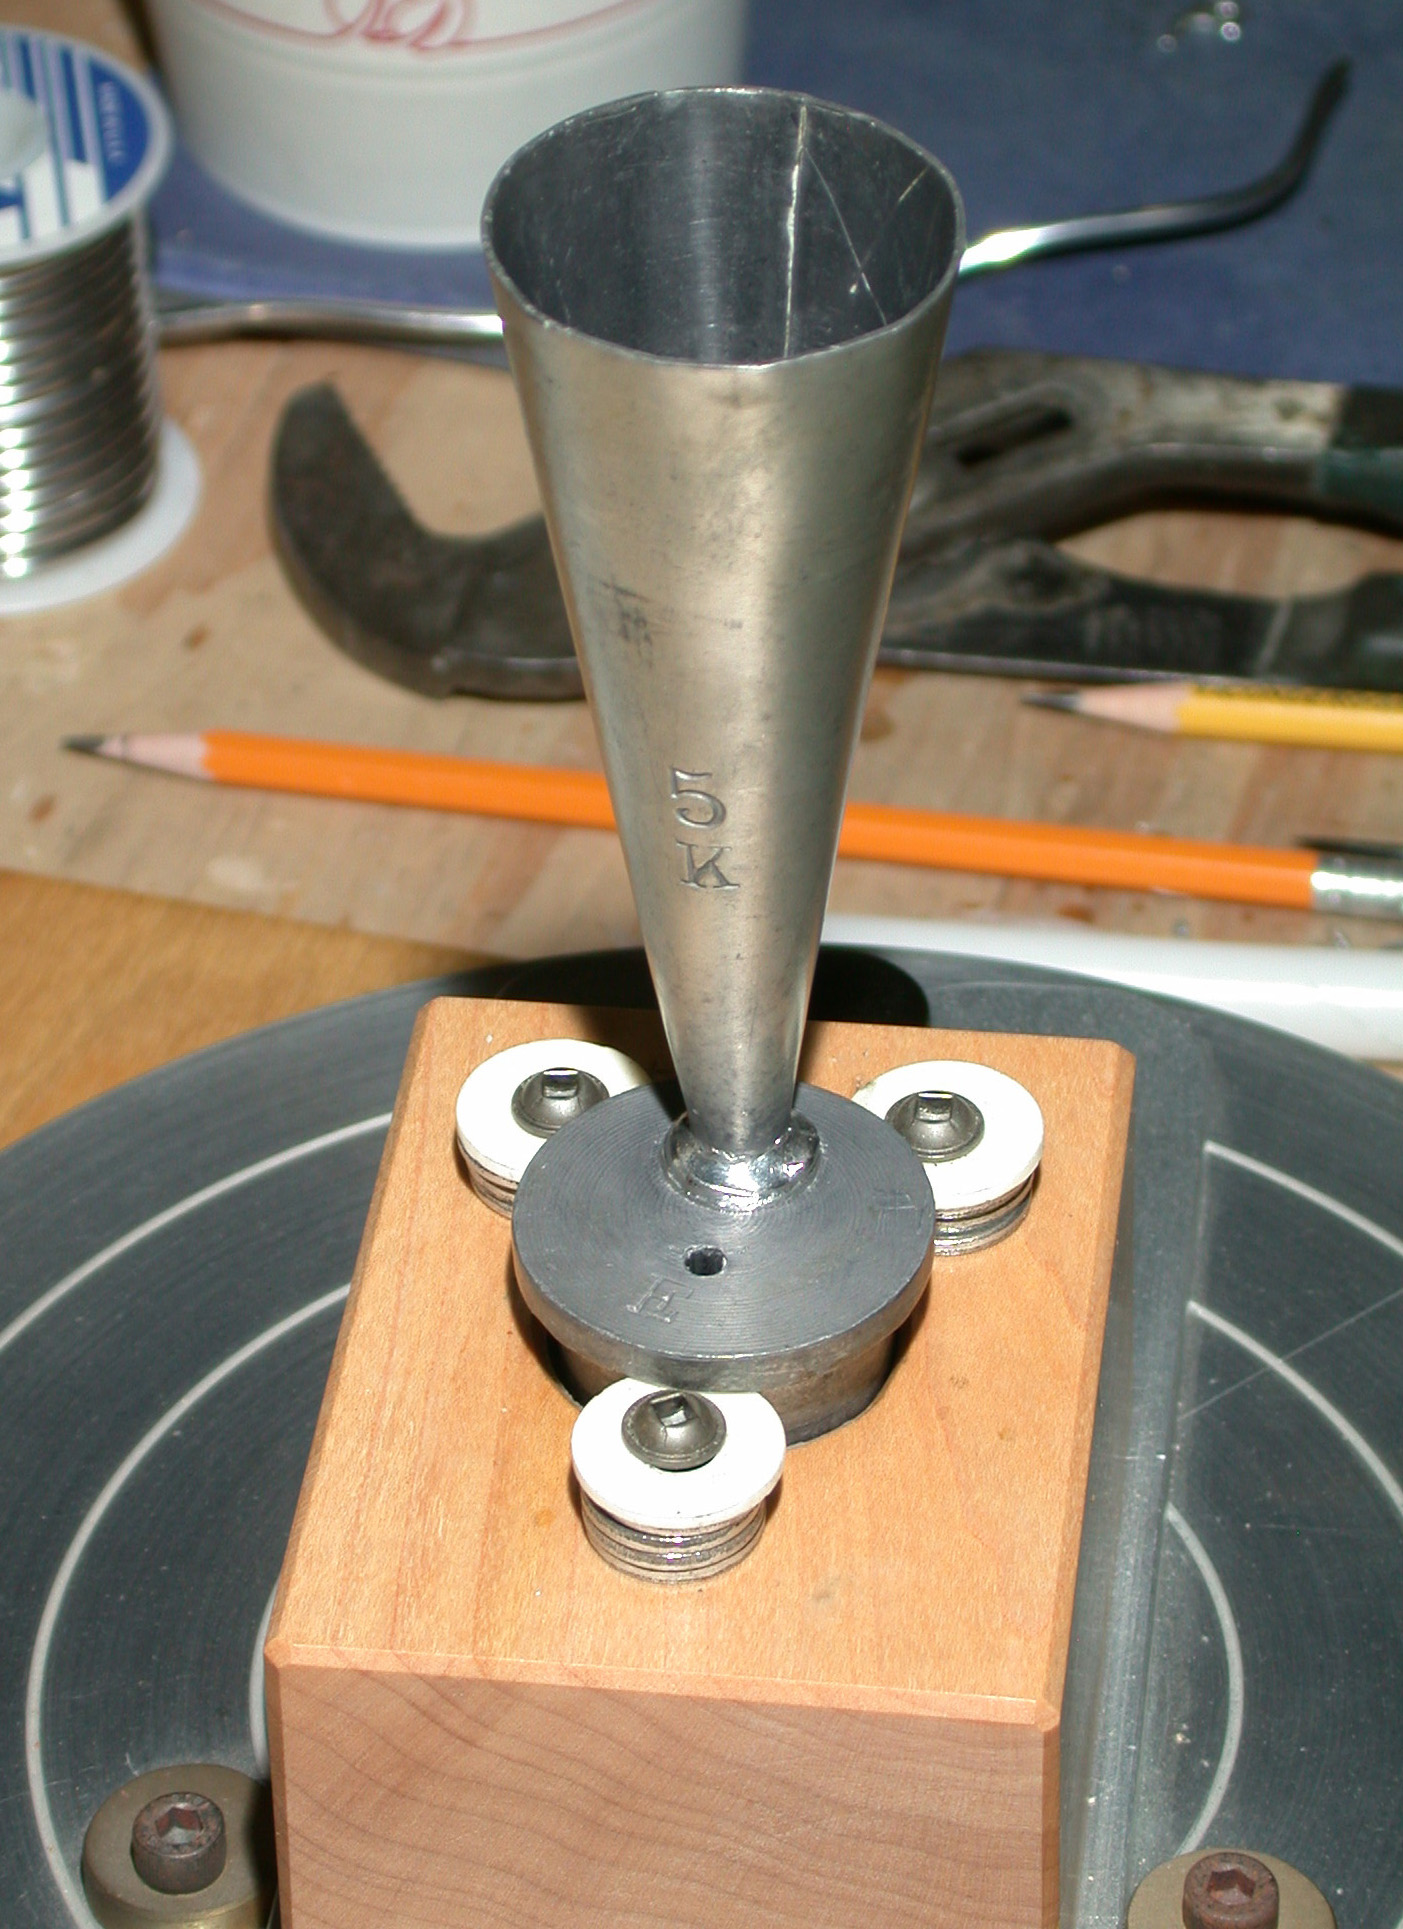
Fig. 5 - Repaired Kinura Pipe - Note Ceramic Washers Added To Insulate The Block
Randy Bergum pulls the strings of World Leaders from Fullerton, CA. His hobbies include arguing with the voices in his head, running with scissors, and Belt Sander Drag Racing.
Return to Wurlitzer Tools and Repairs Menu
Copyright © January 2003 and beyond by Randy A. Bergum All Rights Reserved