by Randy A. Bergum
Some of you may wonder how to sharpen your arch punches that are so useful in making holes in leather and paper gaskets. After struggling with mediocre edges for years, it was time to research how to put a superior edge on each punch.
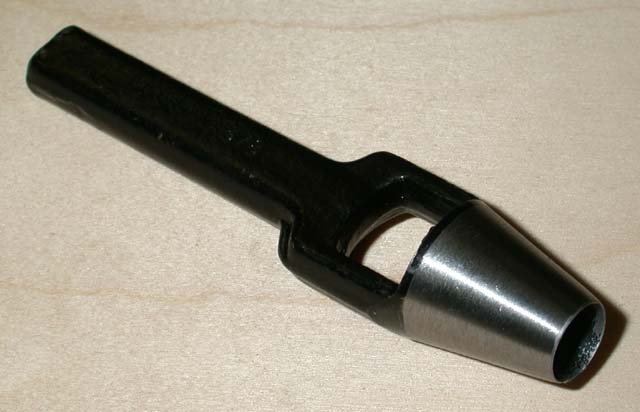
I started by trying to hone the existing set of punches made by Adco. These wrenches are punched from hex bar stock, with a truncated cone welded onto a split end of the bar. This cone contains the business end and is not usually concentric with the center line of the handle, making it impossible to sharpen on a lathe. I tried to hand sharpen some on a bench grinder, but the edge was not satisfactory, being uneven and grabbing the work.
A set of new punches were bought - made by C.S. Osborne, available in 1/16" increments- these are more accurately made, and the working edge is hardened for good wear.
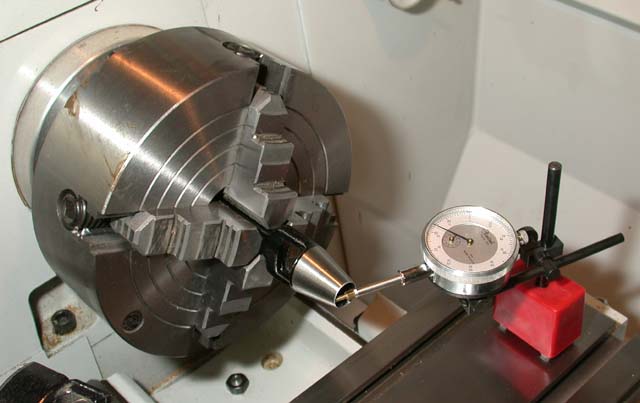
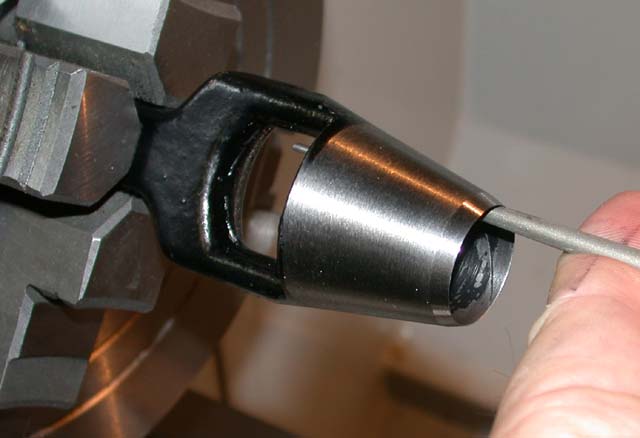
Each punch was mounted in a four jaw chuck in a metal lathe, and centered with a dial indicator:
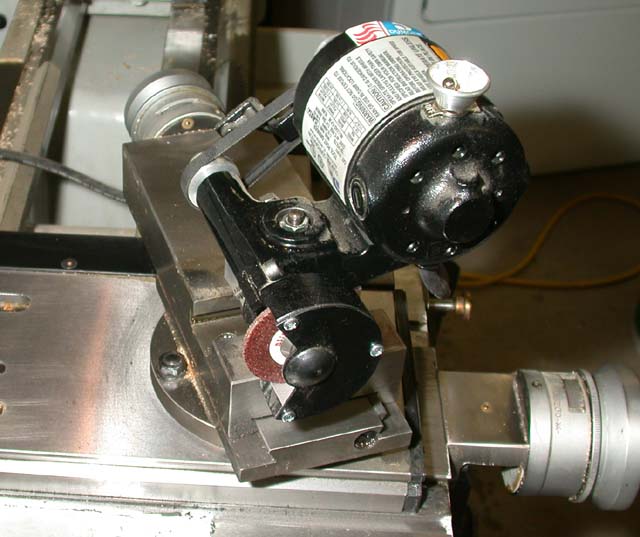
A tool post grinder was employed to create a working angle of 20 degrees to the centerline of rotation:
The direction of travel of the chuck is clockwise as shown in Fig.4:
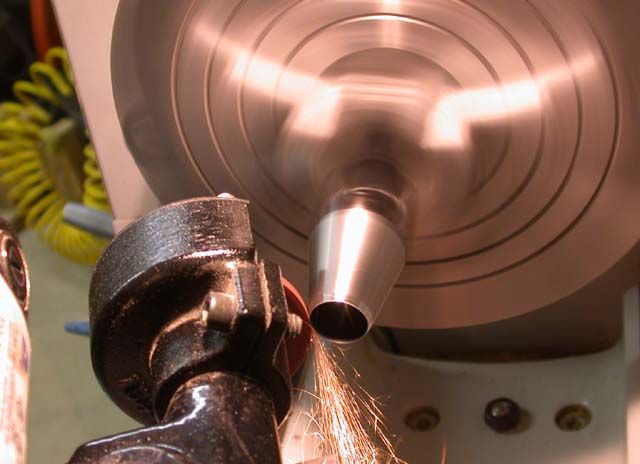
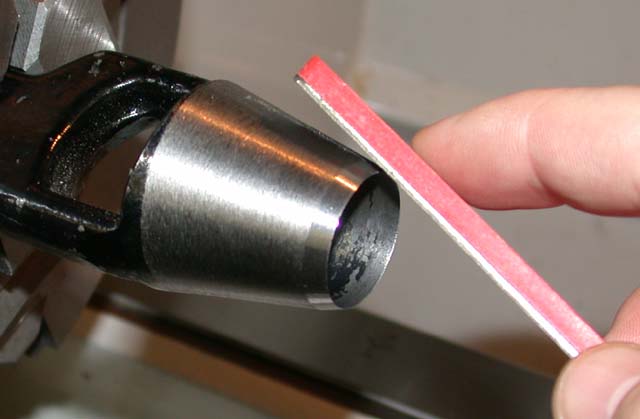
Next, a honing metal was used to gently guide the sharp edge to the outside, cleaning up some raggedness.
Diamond hones were used to clean up the outside edge. The direction of each stroke is inward towards the cutting edge as the lathe turns about 100 RPM counterclockwise. Start with a coarse grade hone, then dress the inside of the cone edge with a honing metal. Continue with a fine grade hone, and again with the inside honing, then finish off with an extra fine hone on the outside edge.
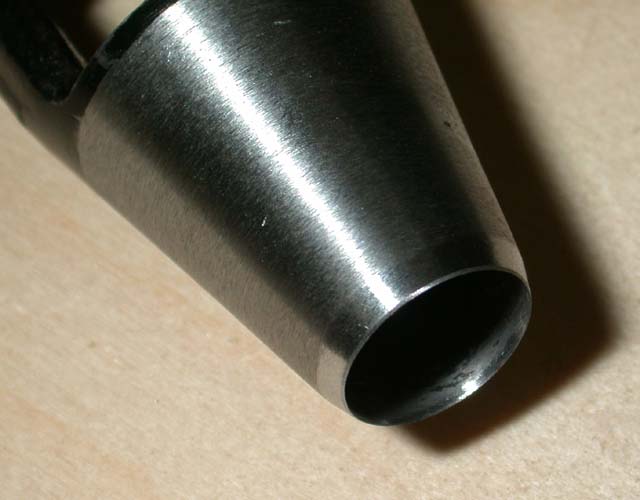
You now have an edge that will almost cut by itself. I use each punch without a hammer, and "wring" the tool into the leather or paper to get the desired hole.
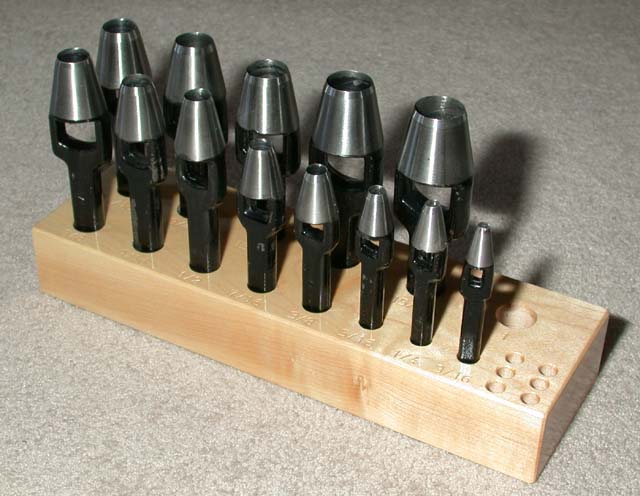
I made a rack of maple to hold the set:
Return to Wurlitzer Tools and Repairs Menu
Copyright © 1997 and Beyond. Randy A. Bergum - All Rights Reserved